
Ever paint your nails and literally the very next day, they start to chip? I know it happened to me all the time and there is no greater tragedy than spending a lot of time painting your nails and ruining them in no time flat. Well, okay, there are greater tragedies, but you know what I mean!
I’m happy to say that I no longer have that problem thanks to this DIY Gel Nail trick! I discovered this awesome trick because I had been toying around with the idea of buying an at home gel nail kit (which is ridiculously expensive in my opinion – for something that I’m going to use to paint my nails). Most gel kits that I saw were between $60-$100+ that included the UV lamp and the starter polishes, etc. I just really wanted to find a way to make my nail polishes last, so I was about to do some online research to see which kit was the best when I discovered this product called Gelous Advanced Nail Gel Coat by American Classics.

I started doing my due diligence by watching a ton of different YouTube beauty vloggers do their nails using the Gelous polish and they claimed that it made their nail polish last for up to 10 days. I learned that you can purchase Gelous from Sally Beauty Supply stores, for around $5. So, I was sold, I figured even if it didn’t work, I was willing to try it since it was so cheap. If it didn’t work, then I’d go back and buy the at home gel polish kit.
I’m happy to say that this stuff really works! I painted my nails for the first time with the polish using the process below, and it lasted for about 7 days. I could have left it on longer, but I was actually tired of looking at the same color for so long, I decided to remove the polish. Not because it looked bad, but because I was actually ready to change it! That was new for me!
Another great selling point for me was that with this method, I didn’t have to give up using all of my beautiful nail polishes I already own. If I were to switch over to the gel polishes, I’d also have to invest in all new polishes and colors too, which would be a huge bummer for me because I have so many amazing polishes that I absolutely love.
The other great part about it was that to remove it, all I had to use was an acetone nail polish remover. This was another great selling point for me because I know that actual gel nails and gel polish is a huge pain to remove.
The only slight con that I did determine was that the nail painting process does take a bit of time to do, so if you’re in a hurry, this isn’t the method for you. However, even with it taking a while to do, it is totally worth it to me in the long run.
Here’s how I used it (there are other various methods that you’ll see on other Blogs or even in tutorials on YouTube, but this is the method I use):
Step 1: Apply Base coat (I use Essie Rock Hard), let dry (about 1 minute)
Step 2: Apply 1st coat of Gelous, let dry (about 1 minute) it may still be a bit tacky, but that’s okay.
Step 3: Apply 2nd coat of Gelous, let dry again (about 1-2 minutes)
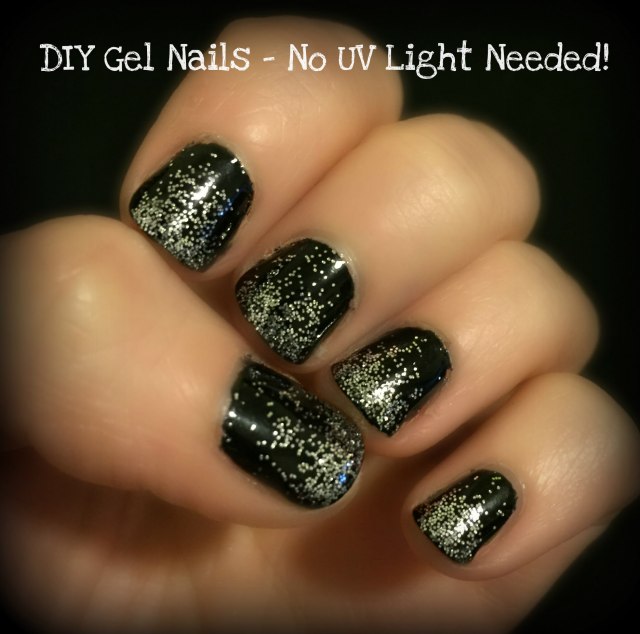
Step 4: Apply 1st coat of any nail polish color (in the photo above, I used OPI Black Onyx), let dry (about 1 minute)
Step 5: Apply 3rd coat of Gelous, let dry again (about 1-2 minutes)
Step 6: Apply 2nd coat of nail polish color (same as polish used in Step 4 above), let dry (about 1 minute) may still be tacky
Step 7: Apply any top coat (fast drying works best!) (I use Seche Vite Dry Fast Top Coat) When dry, you’re al done!
– in the photo above, I also applied loose silver nail glitter between steps 6 and 7. You can also apply decals, etc. prior to applying the top coat if you choose.
As you can see, it does take a bit of time – I would say it takes me anywhere between 40-50 minutes total from start to finish.
After discovering this method, I don’t know that I’ll ever go back to painting my nails the old way again.
Anyone else try this method? Let me know!
xo,
Glitter Girl

You must be logged in to post a comment.